Cardboard Bookshelf
- May 13, 2020
- 3 min read
Guys. Am I excited to share this with you? Nope, I'm downright OVER THE MOON. I am just SO happy with the way this turned out and I need to document it ASAP. (Because you know... you know so well, that in precisely one week, this will be covered in toothpaste and hanging cockeyed.) For now however, this is a beautiful thing. My son can more easily find a book to flip through and more importantly, have a place for Batman.

This was one of those ideas to emerge from necessity. Our two kiddos share a room and they have but one place to put books. For a while, the chest was ample space for books. As our collection has grown however, it became clear we needed...wait for it...an actual bookshelf. Who would have thought?
The design inspiration for this bookshelf came from this Pinterest image:

I loved the curving lines juxtaposed the geometric, right angles. It is quite pleasing to me. While our bookshelf looks quite different from his one, there is an essential similarity in the configuration. Would you agree?
Now for the nitty gritty. This isn't going to be a super detailed DIY but more of an overview of the process. I think in showing you the process, you may be able to more easily create your own! It all begins with deciding the shape of your shelf. There are many ideas floating around. Simply do a Google search.
Once you decide upon the shape, you need to draw out a rough sketch. Measure the space that you would like the piece to go and decide on the exact measurements for the piece. Grab your cardboard, a pencil, ruler, measuring tape and a box cutter and GO! Begin by measuring and penciling out the design on your cardboard. Cut it out with your box cutter. Something important to remember while working with cardboard is that you will need to cut multiple pieces of the same shape and glue together to create a structurally sound piece.
I chose to intersect my pieces using the gentle persuasion of a hammer. LOL. This was of course, after I notched each section to fit together.

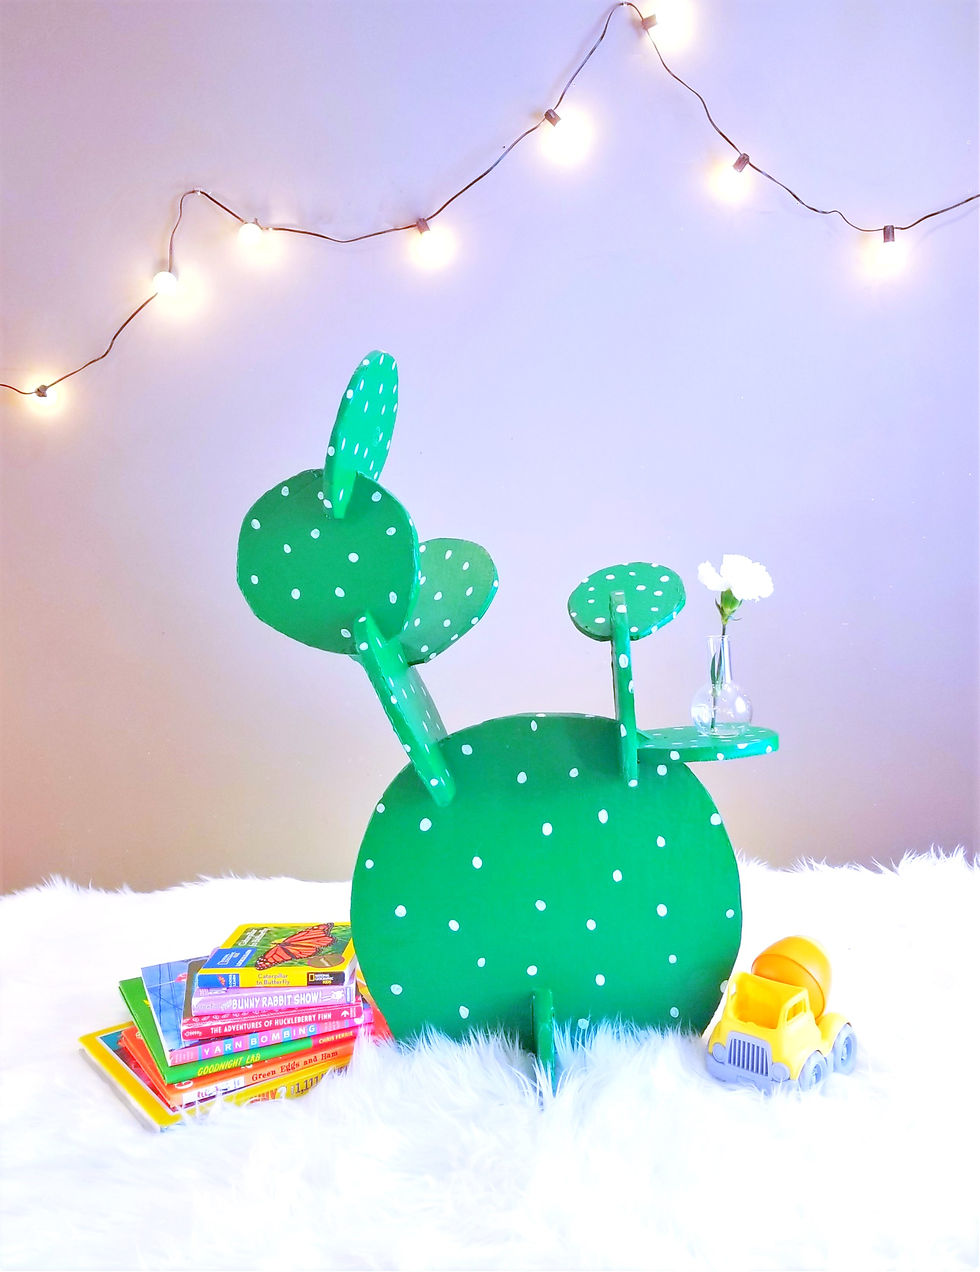
Once the pieces were intersected, I applied hot glue much like caulk. I wanted to cover some of the joint mishaps and give an overall cleaner effect while securing the structure together. After the piece was fully assembled, I used paper bags to hide the corrugated edge of the cardboard. This is a little trick I used to "finish" the Cactus Table we made.
Here is a look at the bookshelf during the edge finishing process.

Once you have completed the finishing process, you can add glue to any major holes or blemishes. You can also use a fine grit sandpaper to sand down the edges and smooth out the entire shelf. Once finished, pick your color and PAINT! I chose yellow because, well, yellow! It's just such a happy color and I really like it against the chalkboard wall.
Now to finish, er start my daughter's bookshelf. Check back in two years for those results! hah.
I really hope you enjoyed this lil rundown. Have a wonderful day and don't forget, if you like what you see here, give it a share! Or if you make one, tag #brainybeginningsnetwork so we can see!


Comments